

-
Welcome to Tacoma World!
You are currently viewing as a guest! To get full-access, you need to register for a FREE account.
As a registered member, you’ll be able to:- Participate in all Tacoma discussion topics
- Communicate privately with other Tacoma owners from around the world
- Post your own photos in our Members Gallery
- Access all special features of the site
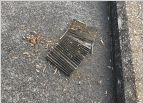 In Cabin Filter
 Whose UCA are these?
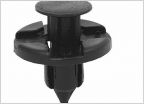 Where to find proper body clips
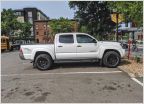 5th gen 4runner TRD Pro wheels on stock height 2nd Gen DCSB TRD OR
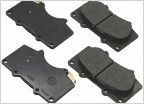 2013 TRD Sport Brake Pad OEM thickness.
Upper control arm bushing cut/torn: replace immediately?
Discussion in '2nd Gen. Tacomas (2005-2015)' started by Punintentional, Feb 13, 2016.
Page 1 of 2
Page 1 of 2

