

-
Welcome to Tacoma World!
You are currently viewing as a guest! To get full-access, you need to register for a FREE account.
As a registered member, you’ll be able to:- Participate in all Tacoma discussion topics
- Communicate privately with other Tacoma owners from around the world
- Post your own photos in our Members Gallery
- Access all special features of the site
 Leaky gasket on coolant bypass housing.
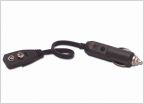 Silly question, but I gotta ask
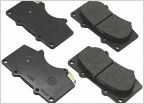 Toyota OEM brake pads
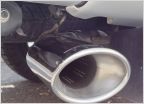 Is the TRD Cat-Back Exhaust right for me?
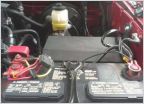 Multiple attachments to battery terminals
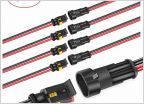 Fog Light Wiring Please Help!
Truck Cap Side Windows on the cheap
Discussion in '2nd Gen. Tacomas (2005-2015)' started by greenyone, Apr 13, 2024.
Page 1 of 2
Page 1 of 2


