

-
Welcome to Tacoma World!
You are currently viewing as a guest! To get full-access, you need to register for a FREE account.
As a registered member, you’ll be able to:- Participate in all Tacoma discussion topics
- Communicate privately with other Tacoma owners from around the world
- Post your own photos in our Members Gallery
- Access all special features of the site
Quick Links: UPPER BALL JOINT - Part Numbers?
  Top end maint. replace/clean injectors? gaskets? sensors? hoses? what else?
 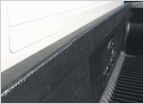 Doublecab with Under Rail Liner and Leer Cap - Front Rail Issue/Need to trim?
 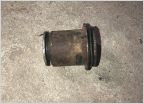 How do you remove these lower control arm bushing things?
 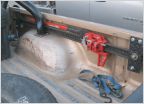 Any pics of a Hi-Lift jack mounted to the bed rail?
  Acanni headlights?
Steering rack replacement
Discussion in '1st Gen. Tacomas (1995-2004)' started by Goldie 04, Apr 2, 2024.


