

-
Welcome to Tacoma World!
You are currently viewing as a guest! To get full-access, you need to register for a FREE account.
As a registered member, you’ll be able to:- Participate in all Tacoma discussion topics
- Communicate privately with other Tacoma owners from around the world
- Post your own photos in our Members Gallery
- Access all special features of the site
 Recommendation for front pads and rotors ?
 Wiring harness clamp part number?????
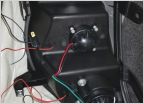 Installing Halo Projectors
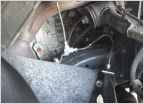 Name that part!
 Alarm and power door locks for a 2013 Reg cab 2wd without that stuff installed?
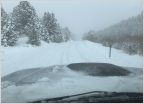 How to remove road salt from Taco?
Replacing clutch master and slave help
Discussion in '2nd Gen. Tacomas (2005-2015)' started by bowdude, Sep 17, 2018.
Page 1 of 2
Page 1 of 2


