

-
Welcome to Tacoma World!
You are currently viewing as a guest! To get full-access, you need to register for a FREE account.
As a registered member, you’ll be able to:- Participate in all Tacoma discussion topics
- Communicate privately with other Tacoma owners from around the world
- Post your own photos in our Members Gallery
- Access all special features of the site
 Any opinions of Fabtech coilover kit
 My dad never changed transmission fluid 1st gen 160k miles
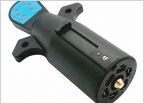 Turn signal vs trailer wiring?
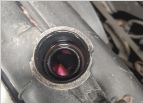 Help with getting Coolant Level Right
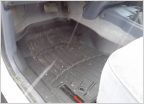 Best place (price) to buy weathertech style floormats
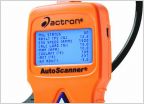 OBDII Scanner from Autozone. Good value?
Replacing A/C Compressor 2004 v6
Discussion in '1st Gen. Tacomas (1995-2004)' started by 53rdcard, Sep 15, 2017.


