

-
Welcome to Tacoma World!
You are currently viewing as a guest! To get full-access, you need to register for a FREE account.
As a registered member, you’ll be able to:- Participate in all Tacoma discussion topics
- Communicate privately with other Tacoma owners from around the world
- Post your own photos in our Members Gallery
- Access all special features of the site
 Remote Start for 2015
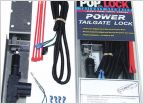 Calling Pop and Lock experts
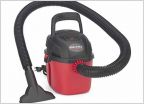 Shop vacs & bed outlet
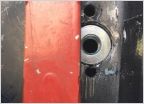 Wind caught my door... Pop! Is it broken or not? Anyone had this happen?
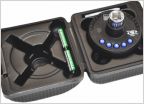 Clutch removal help
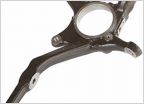 Spindles
Release brake pressure? Calipers are off and will not fit back over the rotor
Discussion in '2nd Gen. Tacomas (2005-2015)' started by dk_crew, Mar 7, 2020.

