

-
Welcome to Tacoma World!
You are currently viewing as a guest! To get full-access, you need to register for a FREE account.
As a registered member, you’ll be able to:- Participate in all Tacoma discussion topics
- Communicate privately with other Tacoma owners from around the world
- Post your own photos in our Members Gallery
- Access all special features of the site
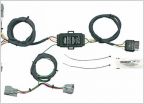 2Questions, Headlight adjustment N Trailer pigtail
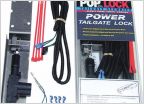 Tailgate Lock
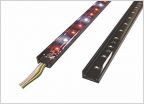 Rear LED Amber light strip for turn signals
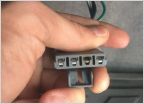 Blower Motor Resistor Connector
 Oil change
 Personal observation about the HVAC system and the mildew odor
Rear bumper painting walkthrough
Discussion in '2nd Gen. Tacomas (2005-2015)' started by BlackBeerd, Jun 19, 2016.


