

-
Welcome to Tacoma World!
You are currently viewing as a guest! To get full-access, you need to register for a FREE account.
As a registered member, you’ll be able to:- Participate in all Tacoma discussion topics
- Communicate privately with other Tacoma owners from around the world
- Post your own photos in our Members Gallery
- Access all special features of the site
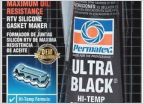 Changing auto transmission filter. Have gasket. RTV needed?
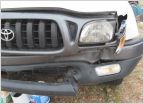 Front end wreck. Bumper pushed in. Need advice on how to get it back on the road.
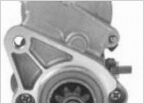 Starter went out?
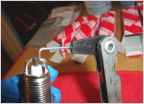 3.4 Denso Dual Electrode Gapping
 20"mud tires
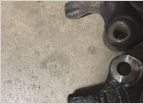 Lower ball joint
Radiator Support Bushing PNs and How to Replace them
Discussion in '1st Gen. Tacomas (1995-2004)' started by skeezix, Apr 14, 2025.
Page 1 of 2
Page 1 of 2


