

-
Welcome to Tacoma World!
You are currently viewing as a guest! To get full-access, you need to register for a FREE account.
As a registered member, you’ll be able to:- Participate in all Tacoma discussion topics
- Communicate privately with other Tacoma owners from around the world
- Post your own photos in our Members Gallery
- Access all special features of the site
 Dash lights flickering when brake pressed
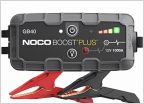
 Battery issue or what?
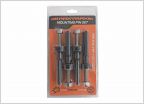 Kbvoodoo crossbars and mounting Hi-lift/max tracks
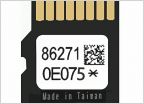 Micro SD card part #
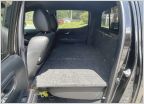 Dog backseat setup
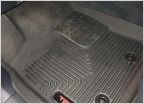 Floormats for '18s?
Puddle pod light switch location
Discussion in '3rd Gen. Tacomas (2016-2023)' started by Toolndie7, Jun 6, 2022.
Page 1 of 2
Page 1 of 2

