

-
Welcome to Tacoma World!
You are currently viewing as a guest! To get full-access, you need to register for a FREE account.
As a registered member, you’ll be able to:- Participate in all Tacoma discussion topics
- Communicate privately with other Tacoma owners from around the world
- Post your own photos in our Members Gallery
- Access all special features of the site
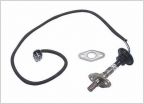 Correct O2 part numbers?
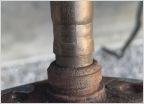 Oxygen sensor confusion
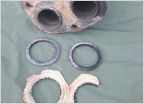 Exhaust Gasket Part Number Needed!
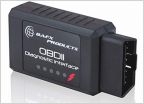 OBD2 problem
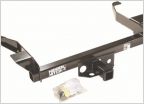 Trailer hitches
 Valve Covers Leaking a bit.
My Swing Arm DIY 2-Bike Carrier
Discussion in '1st Gen. Tacomas (1995-2004)' started by SpokeWench, Feb 22, 2024.


