

-
Welcome to Tacoma World!
You are currently viewing as a guest! To get full-access, you need to register for a FREE account.
As a registered member, you’ll be able to:- Participate in all Tacoma discussion topics
- Communicate privately with other Tacoma owners from around the world
- Post your own photos in our Members Gallery
- Access all special features of the site
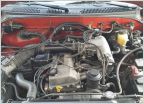 Chasing the 2200 rpm ping (2.7)
 Dead Rat inside blower motor, 2001 Access cab Tacoma, 315K miles
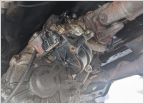 AWD actuator removal
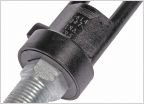 Truck shudders when turning steering wheel
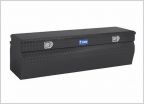 Will this UWS toolbox fit my '02 extra cab taco?
 New England "overland" trip AND bed mount spare tire options?
My frame repair thread (Lots of pics)
Discussion in '1st Gen. Tacomas (1995-2004)' started by rusty-taco, Nov 4, 2015.


