

-
Welcome to Tacoma World!
You are currently viewing as a guest! To get full-access, you need to register for a FREE account.
As a registered member, you’ll be able to:- Participate in all Tacoma discussion topics
- Communicate privately with other Tacoma owners from around the world
- Post your own photos in our Members Gallery
- Access all special features of the site
 Ceramic coat
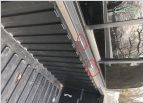 What is this part called in my truck bed?
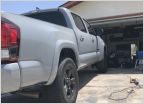
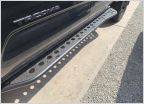 Sliders - Powder Coat or Bed Liner Coating
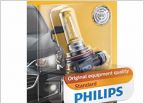 Idiot's FAQs about upgrading stock headlights
 Air Conditioner Smell - 2021
 Shopping cart scratches
License Plate Bulb Change procedure NOT from under truck?
Discussion in '3rd Gen. Tacomas (2016-2023)' started by Col4bin, Jul 31, 2020.
Page 1 of 2
Page 1 of 2


