

-
Welcome to Tacoma World!
You are currently viewing as a guest! To get full-access, you need to register for a FREE account.
As a registered member, you’ll be able to:- Participate in all Tacoma discussion topics
- Communicate privately with other Tacoma owners from around the world
- Post your own photos in our Members Gallery
- Access all special features of the site
 ECOFLOW RIVER MAX VS JACKERY 500
 Battery Hold Down?
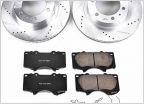 2021 Tacoma Sport warped brake rotors
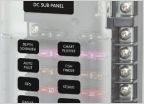 Needs some knowledge on wiring lol
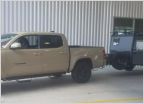 Trailer security
Let's see those Alu-cab setups
Discussion in '3rd Gen. Tacomas (2016-2023)' started by turbosmitty, Jul 28, 2018.
Page 44 of 69
Page 44 of 69
Products Discussed in


