

-
Welcome to Tacoma World!
You are currently viewing as a guest! To get full-access, you need to register for a FREE account.
As a registered member, you’ll be able to:- Participate in all Tacoma discussion topics
- Communicate privately with other Tacoma owners from around the world
- Post your own photos in our Members Gallery
- Access all special features of the site
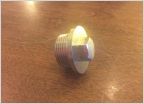 Front diff drain plug alternate OEM part
 08 4.0 Tacoma Starts and Dies unless revved.
 Running 12V power to the bed
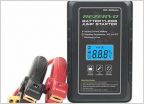 Battery Just Die no Warning at all ?
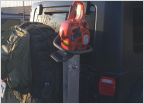 Electric chainsaw?
Is there a trick to tightening the brake line flare fittings and not leak?
Discussion in '2nd Gen. Tacomas (2005-2015)' started by Hans Moleman, Jul 23, 2023.
