

-
Welcome to Tacoma World!
You are currently viewing as a guest! To get full-access, you need to register for a FREE account.
As a registered member, you’ll be able to:- Participate in all Tacoma discussion topics
- Communicate privately with other Tacoma owners from around the world
- Post your own photos in our Members Gallery
- Access all special features of the site
 ARB Locker + ARB Compressor
 Any good solutions for rodent problem?
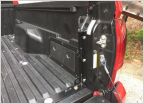 Total Chaos Bed Stiffener CB setup?
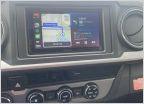 2017 SR5 Carplay
 Need some help with Mud Flaps
 Bilstein 5160 and Icon 51100 AAL - Update Oct 2020
Installing the Factory TSB A/C Condenser Fan (DIY)
Discussion in '3rd Gen. Tacomas (2016-2023)' started by BLtheP, Aug 7, 2024.
Page 1 of 2
Page 1 of 2


