

-
Welcome to Tacoma World!
You are currently viewing as a guest! To get full-access, you need to register for a FREE account.
As a registered member, you’ll be able to:- Participate in all Tacoma discussion topics
- Communicate privately with other Tacoma owners from around the world
- Post your own photos in our Members Gallery
- Access all special features of the site
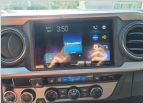 Any interest in custom CNC radio Bezels for Pioneer Modular Radios?
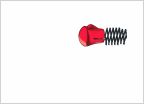 Is there a locking gas cap for a 2021 Tacoma
 Vibrant Exhaust Muffler Installed and Video
 Prinsu install solo??
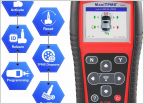 5 tire rotation with TPMS
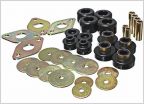 3rd gen body mount bushing kit
Hypertech's In-Line Speedometer Calibrator Module Install
Discussion in '3rd Gen. Tacomas (2016-2023)' started by SubaruTheTacoma, Mar 30, 2019.


