

-
Welcome to Tacoma World!
You are currently viewing as a guest! To get full-access, you need to register for a FREE account.
As a registered member, you’ll be able to:- Participate in all Tacoma discussion topics
- Communicate privately with other Tacoma owners from around the world
- Post your own photos in our Members Gallery
- Access all special features of the site
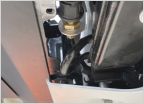 Air lines front and rear
 Height in bed with factory tonneau cover?
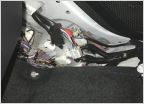 Pop n lock on a 3rd gen with JBL
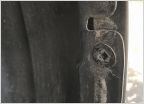 How to - Fender Liner removal?
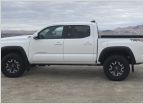 2023 DCSB White Cap
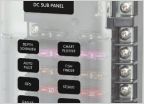 Blue Sea fuse box questions
How to Swap Your Plastic Clutch Pedal for a Metal One from an FJ Cruiser
Discussion in '3rd Gen. Tacomas (2016-2023)' started by BLtheP, Oct 14, 2023.
Page 1 of 3
Page 1 of 3


