

-
Welcome to Tacoma World!
You are currently viewing as a guest! To get full-access, you need to register for a FREE account.
As a registered member, you’ll be able to:- Participate in all Tacoma discussion topics
- Communicate privately with other Tacoma owners from around the world
- Post your own photos in our Members Gallery
- Access all special features of the site
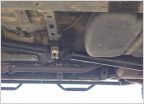 PreRunner vs 4wd driveshaft
 2009 PopLock Wire Connection
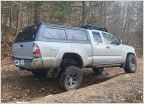 Limiting straps with airbags
 Replacing Bearing/Hub - need a sander for cleaning surfaces?
 24 hrs after purchase A/C died
 New, heavier duty leaf springs?
How-To: Replace rear parking brake cables
Discussion in '2nd Gen. Tacomas (2005-2015)' started by deanosaurus, Apr 27, 2023.


