

-
Welcome to Tacoma World!
You are currently viewing as a guest! To get full-access, you need to register for a FREE account.
As a registered member, you’ll be able to:- Participate in all Tacoma discussion topics
- Communicate privately with other Tacoma owners from around the world
- Post your own photos in our Members Gallery
- Access all special features of the site
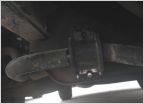 Broken sway bar bushing mount
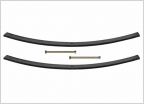 Budget 6" lift
 Help with Old Man Emu Dakar leaf pack noise
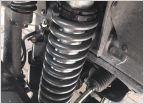 What spring compressor are you using? Need advice
 Driveline angles. do I need shims?
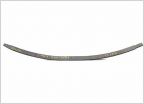 What suspension for my needs
How to Rebuild IFP Coilovers w/ Pictures! (Demonstrated on Fox/Fabtech FTS2100)
Discussion in 'Suspension' started by ForestRunnerFrank99, Jun 21, 2019.


