

-
Welcome to Tacoma World!
You are currently viewing as a guest! To get full-access, you need to register for a FREE account.
As a registered member, you’ll be able to:- Participate in all Tacoma discussion topics
- Communicate privately with other Tacoma owners from around the world
- Post your own photos in our Members Gallery
- Access all special features of the site
 Powering a Fridge with SP9100 Q's
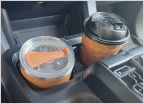 Cupholder too small
 Looking: Non-slip liners for back seats
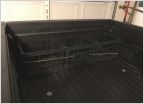 Grocery shopping in your Taco
 What is in your Diff
 Upgraded brakes?
How to mount X-Bull traction boards on OEM roof rack
Discussion in '3rd Gen. Tacomas (2016-2023)' started by CmdrTrekk, Dec 14, 2020.


