

-
Welcome to Tacoma World!
You are currently viewing as a guest! To get full-access, you need to register for a FREE account.
As a registered member, you’ll be able to:- Participate in all Tacoma discussion topics
- Communicate privately with other Tacoma owners from around the world
- Post your own photos in our Members Gallery
- Access all special features of the site
 Leak at transfer case fill hole
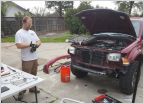 Timing belt kit and pump
 Front right brake squeal 2003 Prerunner
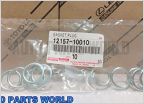
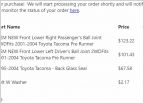 Help Getting Parts - OEM Lower Ball Joint 2003 Pre-Runner 2.7 (preventive Maint.)
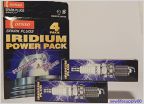 Spark plug replacement question - 2004 Prerunner 2.7L
 Finding bearing noise.
How To: 01-04 60/40 to Bucket Seat/Console Swap
Discussion in '1st Gen. Tacomas (1995-2004)' started by Blue92, Jul 4, 2019.
Page 1 of 2
Page 1 of 2


