

-
Welcome to Tacoma World!
You are currently viewing as a guest! To get full-access, you need to register for a FREE account.
As a registered member, you’ll be able to:- Participate in all Tacoma discussion topics
- Communicate privately with other Tacoma owners from around the world
- Post your own photos in our Members Gallery
- Access all special features of the site
 Vacuuming evap housing to remove debris.. possible?
 Transmission fluid temperature
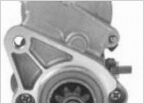 Starter went out?
 'GLOW' lights behind grill. any ideas?
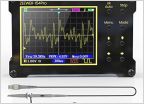 2002 2.7L starts then dies immediately
 Radiator drain plug wrong size
Hood Insulation Restoration DIY
Discussion in '1st Gen. Tacomas (1995-2004)' started by Dan496, Apr 19, 2020.


