-
Welcome to Tacoma World!
You are currently viewing as a guest! To get full-access, you need to register for a FREE account.
As a registered member, you’ll be able to:- Participate in all Tacoma discussion topics
- Communicate privately with other Tacoma owners from around the world
- Post your own photos in our Members Gallery
- Access all special features of the site
 TRD / 4X4 Decal Removal
 Any Recommendations on a Tire Cleaner?
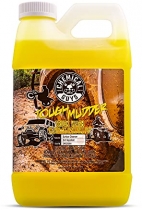
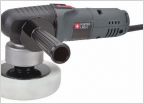 Porter cable 7424 speeds
 RainX Ceramic Glass Cleaner & Repellant
 How to remove Armor all like product from interior?
 What's a good tire cleaner/degreaser that is safe on painted wheels?
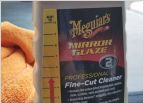
Headlight Restoration Thread
Discussion in 'Detailing' started by TaylorU, Aug 24, 2014.