

-
Welcome to Tacoma World!
You are currently viewing as a guest! To get full-access, you need to register for a FREE account.
As a registered member, you’ll be able to:- Participate in all Tacoma discussion topics
- Communicate privately with other Tacoma owners from around the world
- Post your own photos in our Members Gallery
- Access all special features of the site
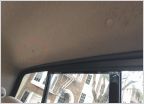 DC Headliner Button/Screw P/N?
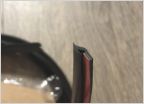 Fender flare seals replacements for 03 tacoma crew cab
 Good scanner for 2003 Tacoma 6 cylinder (under $300.)
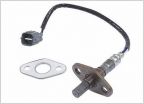 O2 Bank 1 replaced
 Failed CA Smog "Gross Polluter" Help Please!
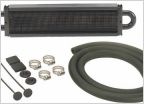 Power steering cooler
Driveshaft & universal joint?
Discussion in '1st Gen. Tacomas (1995-2004)' started by devilsalmostfree, Aug 30, 2015.


