

-
Welcome to Tacoma World!
You are currently viewing as a guest! To get full-access, you need to register for a FREE account.
As a registered member, you’ll be able to:- Participate in all Tacoma discussion topics
- Communicate privately with other Tacoma owners from around the world
- Post your own photos in our Members Gallery
- Access all special features of the site
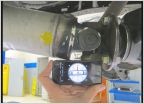 Amazing what a 3 degree shim can do
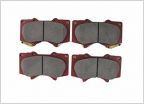 2015 TRD Off Road brake pads
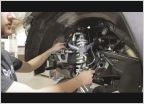 Installing Lift!!
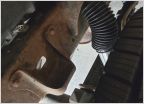 Normal amount of dust boot compression in rear shock?
 Fox 2.5 Coilovers - Is this legit?
 Shocks for a heavily modded 05 lifted Tacoma? (lots mods)
DIY Nitrogen Tank and Refill Kit
Discussion in 'Suspension' started by pinem56, Sep 14, 2024.


