

-
Welcome to Tacoma World!
You are currently viewing as a guest! To get full-access, you need to register for a FREE account.
As a registered member, you’ll be able to:- Participate in all Tacoma discussion topics
- Communicate privately with other Tacoma owners from around the world
- Post your own photos in our Members Gallery
- Access all special features of the site
 Bilstein 5100 Instal Problem
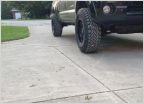 Tacoma gen 2 275/75/R17
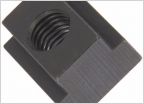 T Slot Nut
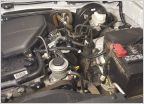 Just bought a Taco and have some questions
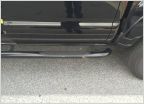 IRON CROSS HD Step, Opinions Wanted...
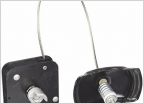 Cable for the spare snapped
DIY LED Pod Fog Mod
Discussion in '2nd Gen. Tacomas (2005-2015)' started by Truck3r, Aug 22, 2019.


