

-
Welcome to Tacoma World!
You are currently viewing as a guest! To get full-access, you need to register for a FREE account.
As a registered member, you’ll be able to:- Participate in all Tacoma discussion topics
- Communicate privately with other Tacoma owners from around the world
- Post your own photos in our Members Gallery
- Access all special features of the site
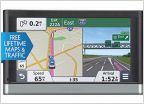 2013 Nav map updates - Are we screwed??
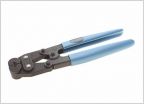 Driveline clunk, A/C resitor, are they a big deal?
 ARB locker Question
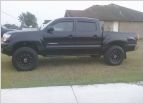 Truck Box Poll
 Pros/Cons of a Split CV Boot
DIY: Always on 12VDC outlet(s) (cigarette lighter) in the glove box
Discussion in '2nd Gen. Tacomas (2005-2015)' started by jdscott, Apr 27, 2013.


