

-
Join Tundras.com, Our New Toyota Tundra Forum!
 Tundra Front/Rear Anytime Cameras
 DIY: Add wireless phone charging
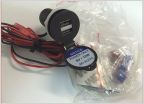 Always on USB Port
 DIY: Tundra LED Lightbar Install
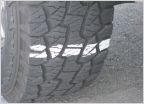 Tire Pressure Chalk Test
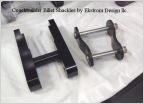 Tundra Coachbuilder Shackles
 Tundras.com Decals Available!
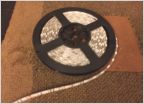 Tundra Footwell LED Lights
 Adding Bed Tie-Down Rings to Your Tundra
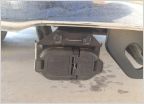 DIY Tundra Trailer harness relocate
 Tundra wheels & Tires
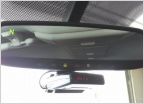 Tundra Radar Detector Install
-
Welcome to Tacoma World!
You are currently viewing as a guest! To get full-access, you need to register for a FREE account.
As a registered member, you’ll be able to:- Participate in all Tacoma discussion topics
- Communicate privately with other Tacoma owners from around the world
- Post your own photos in our Members Gallery
- Access all special features of the site
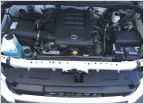
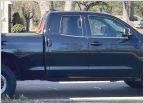
Brett's '06 Tundra/camper/bumper build
Discussion in 'Tundras' started by Deathbysnusnu, Nov 19, 2022.
Page 1 of 2
Page 1 of 2


