

-
Welcome to Tacoma World!
You are currently viewing as a guest! To get full-access, you need to register for a FREE account.
As a registered member, you’ll be able to:- Participate in all Tacoma discussion topics
- Communicate privately with other Tacoma owners from around the world
- Post your own photos in our Members Gallery
- Access all special features of the site
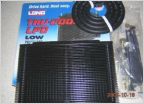 Auxiliary Transmission Cooler
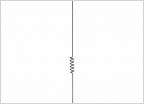 S2k antenna mod
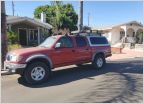 1st Gen Double Cab Camper Shell Installation
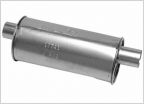 OEM-ish sounding muffler?
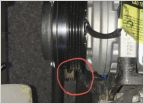 What's wrong with my compressor - pulleys don't line up
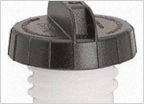 Gas Cap
Back-up camera installation - how to route wires into cabin?
Discussion in '1st Gen. Tacomas (1995-2004)' started by S-Type1, Jul 16, 2018.

