

-
Welcome to Tacoma World!
You are currently viewing as a guest! To get full-access, you need to register for a FREE account.
As a registered member, you’ll be able to:- Participate in all Tacoma discussion topics
- Communicate privately with other Tacoma owners from around the world
- Post your own photos in our Members Gallery
- Access all special features of the site
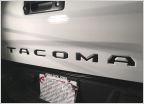 Who sells raised letter TACOMA inserts for tailgate?
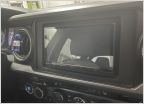 Giving up on the stock stereo
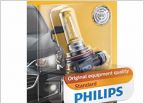 Idiot's FAQs about upgrading stock headlights
 Oil change screw ups
 Steering Wheel upgrade....
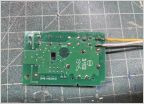 Meso Customs Stealth Knob Install (found broken plug)
ARB Air Compressor - Under Hood Install
Discussion in '3rd Gen. Tacomas (2016-2023)' started by Neato_Taquito, Jul 26, 2021.
Page 1 of 2
Page 1 of 2


