

-
Welcome to Tacoma World!
You are currently viewing as a guest! To get full-access, you need to register for a FREE account.
As a registered member, you’ll be able to:- Participate in all Tacoma discussion topics
- Communicate privately with other Tacoma owners from around the world
- Post your own photos in our Members Gallery
- Access all special features of the site
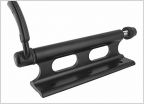 Bike mount help
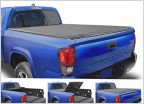 Soft Tonneau Covers in the Winter
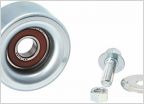 2.7 serpentine belt tensioner question.
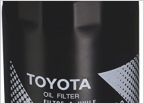 Yota oil filters, $4 a piece
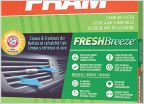 Which cabin air filter have you bought?
 Bed extender installation kit from Auto Anything.com
Actuator install in a Truck toolbox
Discussion in '2nd Gen. Tacomas (2005-2015)' started by wing103, Sep 8, 2012.


