

-
Welcome to Tacoma World!
You are currently viewing as a guest! To get full-access, you need to register for a FREE account.
As a registered member, you’ll be able to:- Participate in all Tacoma discussion topics
- Communicate privately with other Tacoma owners from around the world
- Post your own photos in our Members Gallery
- Access all special features of the site
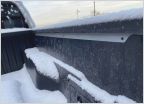 Bed rails for 2019 short bed
 Center console rattles
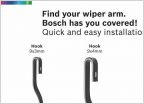 2nd set of wipers coming apart
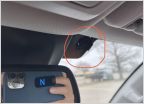 What is this?
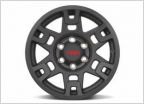 Will these rims fit stock 2016 TRD Sport tires?
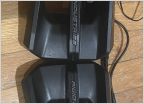 Yellow Bro fogs - Poor man's mod
949 steering wheel extension/spacer install thread (lots of pics)
Discussion in '3rd Gen. Tacomas (2016-2023)' started by Gigan, Jul 1, 2021.
Page 1 of 2
Page 1 of 2


