

-
Welcome to Tacoma World!
You are currently viewing as a guest! To get full-access, you need to register for a FREE account.
As a registered member, you’ll be able to:- Participate in all Tacoma discussion topics
- Communicate privately with other Tacoma owners from around the world
- Post your own photos in our Members Gallery
- Access all special features of the site
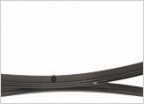 New Leaf springs
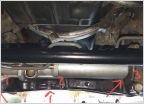 Steering rack bushing suggestions
 Looking for experience with waterproofing a cap/bed
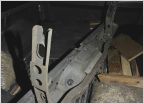 Mounting 03 4wd hitch onto 98 2wd
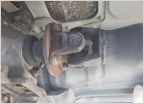 Mixed u-joint types on my '02 2WD
4-Wheel Hi-Dezert Build
Discussion in '1st Gen. Tacomas (1995-2004)' started by alexvallorosi, Oct 2, 2020.


