

-
Welcome to Tacoma World!
You are currently viewing as a guest! To get full-access, you need to register for a FREE account.
As a registered member, you’ll be able to:- Participate in all Tacoma discussion topics
- Communicate privately with other Tacoma owners from around the world
- Post your own photos in our Members Gallery
- Access all special features of the site
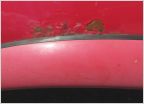 Painted fender flares?
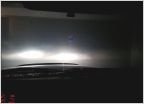 Looking to replace my headlights need suggestions
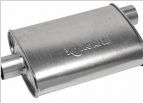 Which Dynomax to get???
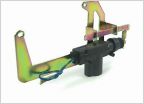 Anyone use a Street Tailoc Tailgate Lock?
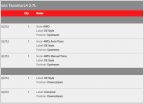 Can the wrong air/fuel ratio sensor cause p0171?
 GE nighthawk... are there alternatives?
3M headlight restoration kit, before and after with PICS..
Discussion in '1st Gen. Tacomas (1995-2004)' started by SpeedoJosh, Feb 15, 2013.


