

-
Welcome to Tacoma World!
You are currently viewing as a guest! To get full-access, you need to register for a FREE account.
As a registered member, you’ll be able to:- Participate in all Tacoma discussion topics
- Communicate privately with other Tacoma owners from around the world
- Post your own photos in our Members Gallery
- Access all special features of the site
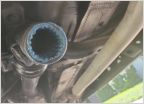 Need help with putting slip yoke back in!
 Does it make a bit of difference?
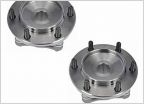 Need to change front wheel bearings
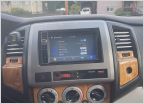 Tacoma with wood trim?
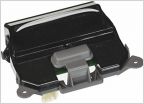 Overhead Console Temperature Display
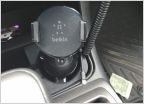 Cell Phone Mount
2nd gen 4.0L power steering pump rebuild
Discussion in '2nd Gen. Tacomas (2005-2015)' started by RabidMoleMan, Sep 17, 2018.
Page 1 of 2
Page 1 of 2

