

-
Welcome to Tacoma World!
You are currently viewing as a guest! To get full-access, you need to register for a FREE account.
As a registered member, you’ll be able to:- Participate in all Tacoma discussion topics
- Communicate privately with other Tacoma owners from around the world
- Post your own photos in our Members Gallery
- Access all special features of the site
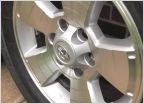 2002 wheel and tire upgrade
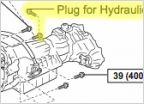 External Transmission Cooler Planning
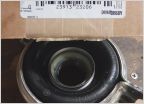 Center Support Bearing
 Head gasket replaced, same issue months later
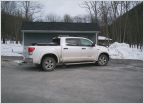 Side Mount Toolboxes on Doublecab Shortbed?
2.4L Taco Fan Clutch removal question
Discussion in '1st Gen. Tacomas (1995-2004)' started by Lelish, Sep 19, 2023.


